Module "editorial-hero-banner" i

acfLink
Link for the anchor under the image
acfBtnText
Text on the anchor under the image
acfLink2
Link for the anchor on the banner
acfCssClasses
Property support the following classes which will change the visual representation of a module.
acfImageXLargeRetina
Retina image for screens larger than 1599px (Large Desktops)
acfImageXLarge
Image for screens larger than 1599px (Large Desktops)
acfImageLargeRetina
Retina image for screens larger than 1023px (Desktops)
acfImageLarge
Image for screens larger than 1023px (Desktops)
acfImageMediumRetina
Retina image for screens larger than 767px (Tablet)
acfImageMedium
Image for screens larger than 767px (Tablet)
acfImageSmallRetina
Retina image for screens larger than 0px (Mobile)
acfImageSmall
Image for screens larger than 0px (Mobile)
acfImage2Small
Image for the bottom icon
acfContentMarginTop
Overrides default margin top. Value must be specified in pixels, without px word, only numbers eg. "30"
acfContentMarginBottom
Overrides default margin bottom. Value must be specified in pixels, without px word, only numbers eg. "30"

HOW TO MAKE HOMEMADE BREAKFAST SAUSAGE

This year for Sausage Month the chefs at MEAT! are starting with a classic recipe they’ve been asked for time and time again. Today we’re teaching you how to make homemade breakfast sausage from scratch! This old-school caseless breakfast sausage recipe is perfect for making links or patties and will last for up to a month in the freezer if you want to make extra.

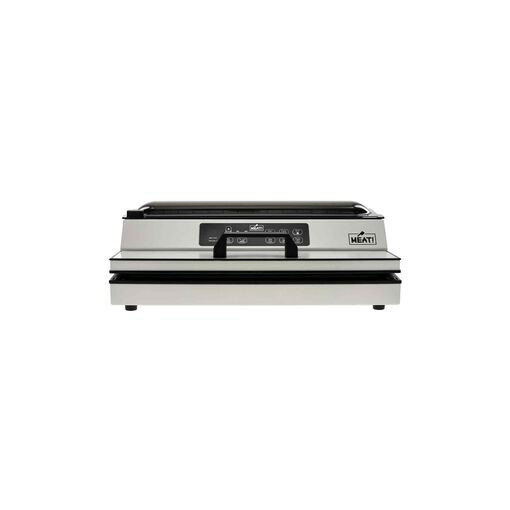
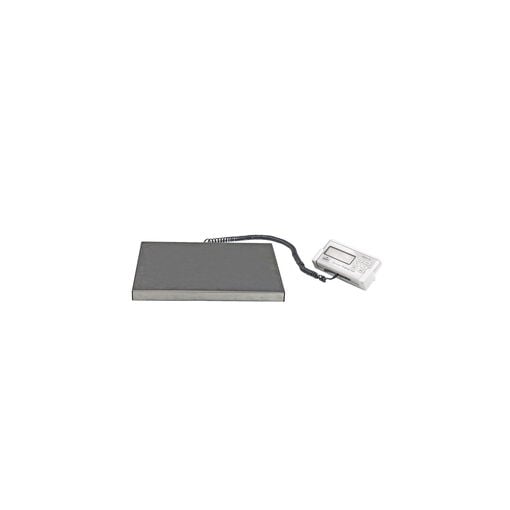
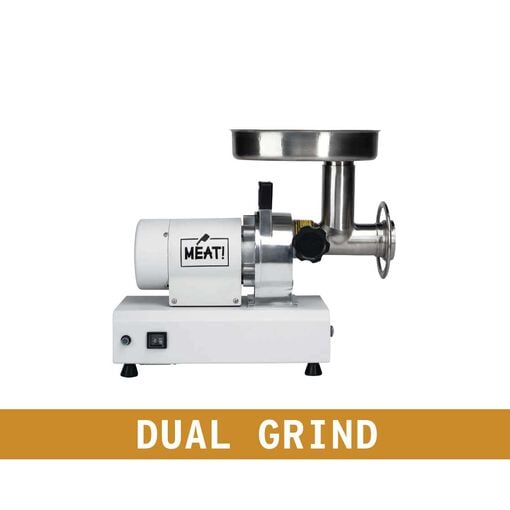
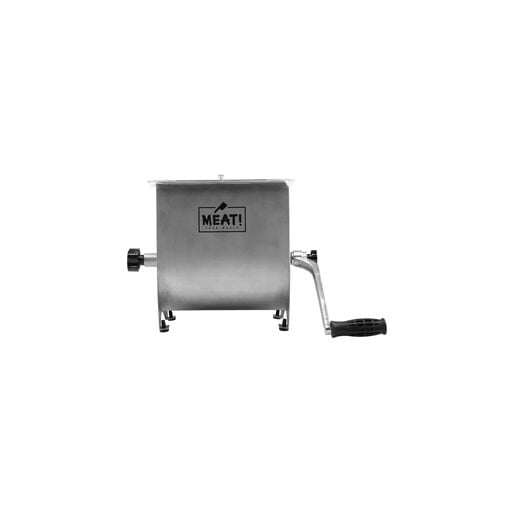
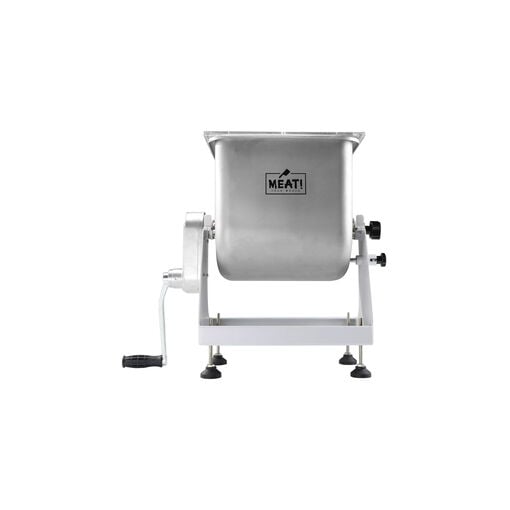
We’re breaking out the MEAT! .5 HP Dual Grinder and 20 lbs. Mixer to make our sausage as easy as possible. We’ll teach how to make breakfast sausage step-by-step, explain the best ways to cook it and even show you how to preserve it for later with a MEAT! Vacuum Sealer.

Prep Time: 1-2 Hours

Cook Time: 10 Minutes

Estimated Servings: 5-6lbs of Raw Breakfast Sausage

INGREDIENTS:

  • 4 lbs. Pork Shoulder
  • 1.25 lbs. Pork Fat (Substitute as you desire)
  • 1 lbs. Chicken Breast (Optional, but recommended)
  • 4 Cloves Garlic
  • 4 Tbsp. Fine Sea Salt
  • 3 Tbsp. Cracked Black Pepper
  • 2 Tbsp. Fennel Seed
  • 2 Tbsp. Sage
  • 2 Tbsp. Thyme
  • 2 Tbsp. Red Pepper Flakes
  • ½ Tbsp. Ground White Pepper
  • Ground black pepper, to taste
  • 1 Tsp. Paprika
  • Breadcrumbs (Optional binder)

Optional Flavor Fillings (Choose one)

  • ½ C. Maple Syrup
  • ½ C. Shredded Green Apple
  • 1 lbs. Chicken Breast (Optional, but recommended)
  • ½ C. Brown Sugar
  • 1-2 Diced Jalapeño

EQUIPMENT

  1. MEAT! .5 HP Dual Grinder
  2. MEAT! Vacuum Sealer
  3. MEAT! 20lbs. Meat Mixer
  4. MEAT! 44lbs. Stainless Scale

INSTRUCTIONS

  1. Weigh out 4lbs. of pork shoulder, 1lbs. of chicken breast and 1lbs. of pork fat using the MEAT! 44lbs. Stainless Steel Scale.
  2. Cube your meat into roughly 2” pieces and then partially freeze your meat and fat to make grinding easier.
    • Pro Tip: Freeze the grinder throat as well. This will keep it from getting hot and will help with grinding the meat.
  3. Peel and mince your garlic and prepare your dry ingredients by putting them together in a small bowl.
  4. Place your partially frozen meat in a separate bowl and add your garlic. Mix until well incorporated and place back in the freezer if necessary to harden again.
  5. With your meat and fat still partially frozen, put the small chucks through your MEAT! .5 HP Dual-Grinder. We are roughly using a 20% ratio of fat to meat.
  6. Grind all your meat and fat together using the fine grind plate. Make sure you evenly distribute the chicken, pork and fat as best you can.
  7. Add your ground meat to the MEAT! 20lb Mixer and slowly add in the rest of your dry seasonings while mixing.
    • Now is the time to add in your optional flavor enhancer like jalapeño peppers, shredded apple, maple syrup or brown sugar. We recommend trying one additional flavor at a time, too many can be overly sweet or muddle the flavor.
  8. Make sure to pay close attention and stop mixing when your meat takes on a slightly tacky texture.
    • Great job, you’ve made your breakfast sausage filling. Now it’s time to shape it, store it, and of course cook it for breakfast.

How to Shape and Store Breakfast Sausage

Now it’s time to shape your sausage. We’ll go over a couple of classic breakfast sausage-making methods, but if you’re feeling creative go ahead and make whatever shape you want.

How to Make Caseless Sausage Links

  1. First, start by pulling out 1-2lbs of breakfast sausage filling and putting the rest away in the fridge until you’re ready to start using it.
  2. We’re making 1oz. sausages, so we will get 16 sausage links for every pound of filling.
    • Grab an ounce of sausage meat, weigh it out if you’d like to be exact, and roll it between your hands until it reaches 3-4” in length.
  3. Round off or press the edges in flat and set it aside on a greased cookie sheet.
  4. Work quickly and deliberately, you do not want to overwork your sausage.
  5. We recommend wearing gloves to do this and putting a small amount of olive oil on your hands before starting to keep them from getting sticky.
  6. Repeat the process until you’ve run out of sausage filling. Feel free to switch things up and make a few other shapes as well if you get bored of links.

How to Make Sausage Patties

  1. First, start by pulling out 2lbs of breakfast sausage filling and putting the rest away in the fridge until you’re ready to start using it.
  2. We’re making 2oz. sausages, so we will make 8 sausage patties for every pound of filling.
  3. Grab 2oz. of sausage meat, weigh it out if you’d like to be exact. You’ll learn to gauge it by feel as you go.
  4. Quickly ball the sausage filling in the palm of your hands.
  5. Place the ball in the palm of your off hand and place your thumb on the side of it.
  6. Using your dominant hand, lightly press down on the center of the ball with your palm and rotate the ball of sausage.
  7. Use the thumb of your off-hand to shape the sides of the patty while rotating it and use the palm of your dominant hand to shape the top as you rotate it.
  8. Make them the size you prefer but keep in mind the thicker they are, the juicier they will be.
  9. We recommend wearing gloves to do this and putting a small amount of olive oil on your hands before starting to keep them from getting sticky.
  10. Work quickly and deliberately, you do not want to overwork your sausage.

Homemade Breakfast Sausage Cooking Directions:

Your homemade breakfast sausage will last for up to a week in the fridge without being cooked. If you have extra sausage and want to save it for longer, the ideal way to save them is to vacuum seal and place in the freezer. That will keep them for up to a month, which is more than enough time to finish them off! When keeping your sausages in the fridge, keep a layer of parchment paper in between each layer of sausage to prevent them from melding together. If you plan to vacuum seal them, do not stack your sausages on top of each other.

How to Store Homemade Breakfast Sausage

  1. Start by putting a pan on the stove at medium to high heat.
  2. Once warmed up, place a Tbsp. of Butter or another form of non-binding agent in your pan.
  3. Place your sausages in the hot pan, they should immediately sizzle. Make sure there is enough room between the sausages so that they don’t touch each other.
  4. Allow your sausages to sear on one side, and do not flip them until they’ve formed a sufficient crust on the bottom.
  5. If making links, rotate them 90-degrees as they form a crust until the entire sausage has a nice brown crispy shell. If making patties, do your best to only flip each sausage one time throughout cooking so they form a crispy outer layer.
  6. Serve with eggs, pancakes, French toast, cinnamon rolls or just eat them as a snack when you need a quick protein fix in the afternoon.

This will remove the first product added for comparison. Is that OK?