Module "editorial-hero-banner" i

acfLink
Link for the anchor under the image
acfBtnText
Text on the anchor under the image
acfLink2
Link for the anchor on the banner
acfCssClasses
Property support the following classes which will change the visual representation of a module.
acfImageXLargeRetina
Retina image for screens larger than 1599px (Large Desktops)
acfImageXLarge
Image for screens larger than 1599px (Large Desktops)
acfImageLargeRetina
Retina image for screens larger than 1023px (Desktops)
acfImageLarge
Image for screens larger than 1023px (Desktops)
acfImageMediumRetina
Retina image for screens larger than 767px (Tablet)
acfImageMedium
Image for screens larger than 767px (Tablet)
acfImageSmallRetina
Retina image for screens larger than 0px (Mobile)
acfImageSmall
Image for screens larger than 0px (Mobile)
acfImage2Small
Image for the bottom icon
acfContentMarginTop
Overrides default margin top. Value must be specified in pixels, without px word, only numbers eg. "30"
acfContentMarginBottom
Overrides default margin bottom. Value must be specified in pixels, without px word, only numbers eg. "30"

KANSAS CITY BBQ JERKY FOR THE SUPER BOWL

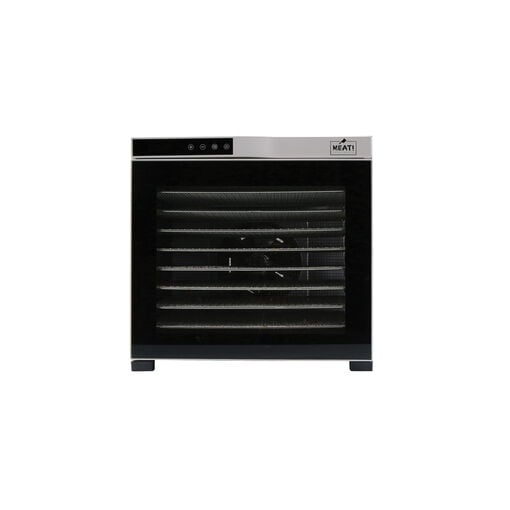
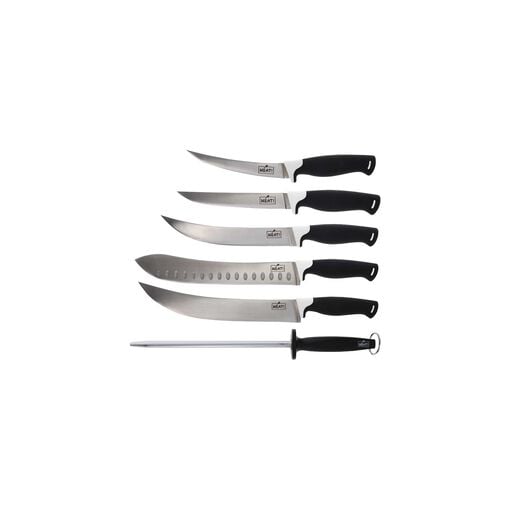
With Kansas City trucking on into the Super Bowl once again the Chef’s at MEAT! wanted to show our support and break out a Kansas City BBQ Jerky Recipe for you to make before the big game! This delicious homemade sauce recipe takes the best parts of Kansas City BBQ and marinates well into our jerky. Whether you’re choosing turkey jerky, venison or simply slicing up a beef roast, this recipe will work perfectly with our MEAT! gear.

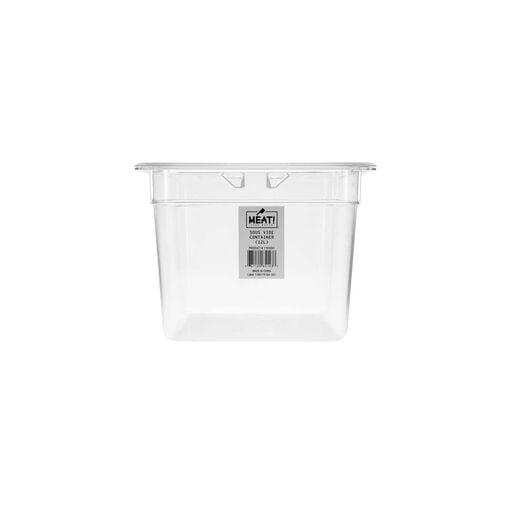
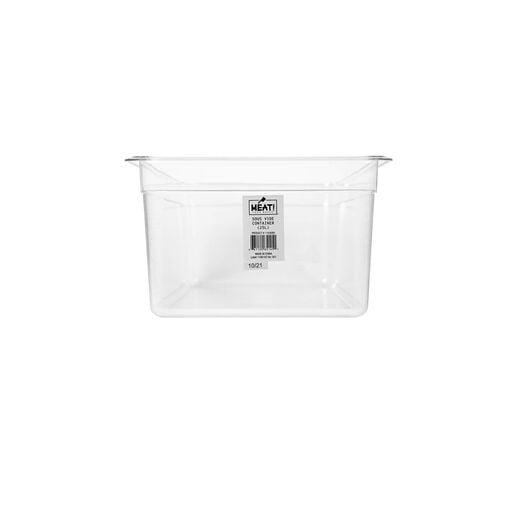
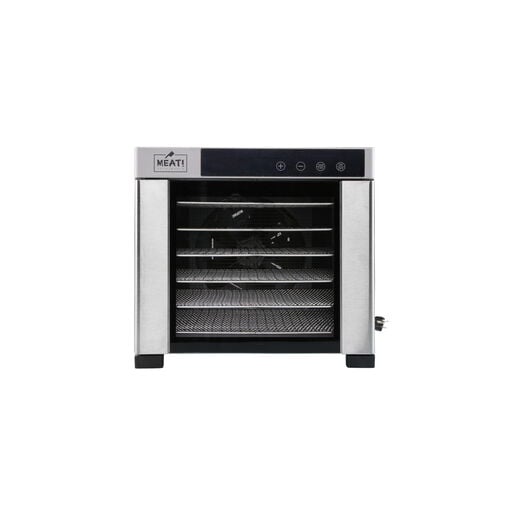
Kansas City style bbq is a bit tangier and sweeter than your average storebought sauce, but it’s great when it has a bit of a kick as well. It gets a ton of flavor from molasses and red pepper flakes, so don’t be afraid to make small adjustments if you want your sauce to be sweeter or spicier. We’re going to put all of our ingredients together in a MEAT! sous vide for extended and consistent heat, but you can also make this on a stovetop.

Making jerky is always easy with MEAT! Dehydrator’s, simply season and sauce your meat, put it in the dehydrator and let our gear do everything else. Follow the directions below and you’ll learn everything you need to know about making Kansas City BBQ flavored jerky at home. If you’re making beef jerky the best cut for this recipe is eye of round, but turkey, venison, elk and buffalo work as well.

Prep Time: 20 minutes

Marinate Time: 6-12 hours

Cook Time: 4-5 hours

Estimated Servings: 1lb Dry Jerky

INGREDIENTS:

  • 3 lbs. Eye of Round, or your choice of meat
  • 3 Tbsp. Worcestershire Sauce
  • 2 C Ketchup
  • 1/2 C Water
  • 1/3 C Apple Cider Vinegar
  • 1/2 C Molasses
  • 2 Tbsp yellow mustard
  • 1 Tbsp onion powder
  • 1 Tbsp garlic powder
  • 1 Tsp cayenne pepper
  • Kosher salt, to taste
  • Ground black pepper, to taste
  • 1-2 Tsp. Red Pepper Flakes (Optional)

EQUIPMENT

  1. MEAT! 6 Dehydrator or MEAT! 10 Dehydrator or Smoker
  2. Sealable Sous Vide Plastic Bags
  3. Cutlery

INSTRUCTIONS

  1. Place the MEAT! Sous Vide in a tall pot and fill the pot with warm water above the minimum fill line. Set the sous vide temperature to 180°F.
  2. Set aside the meat you’ll be using to make your jerky and pull out all the wet and dry seasonings mentioned above.
  3. Combine everything into an appropriately sized bowl and mix thoroughly
  4. Once combined, place everything into an appropriately sized sous vide bag, mason jar or similar container.
  5. Place your sauce into the sous vide bath and allow it to cook for 2-4 hours.
  6. Pull your cut of meat out and trim any excess fat you can. Slice against the grain creating 1/8-to-1/4-inch-thick slices.
    • To make this easier use a MEAT! brand slicer and you’ll be done much quicker with more even slices.
    • If you don’t have a slicer, you can place your meat in the freezer for up to 1-hour to make it easier to slice consistently thin. You will need a high-quality chef’s knife to do this well.
  7. When your sauce is ready, remove it from the sous vide bath and allow it to rest until room temperature.
  8. When cooled, add your sliced meat and sauce to a bowl and mix until it is completely coated in the marinade.
  9. Pour your meat and marinade into a bag, seal it back up and place in the fridge for up to six hours.
  10. Remove your jerky from the marinade and pat off the excess liquid using paper towel.
  11. Place your marinated meat on your dehydrator racks and place them inside at 165 for 3-5 hours. The length of time will depend on how thick you cut your slices.
    • Make sure to leave space between your slices of meat so airflow is unobstructed, and everything cooks evenly.
  12. Once your meat has reached 165 it is ready to be pulled from the dehydrator and rested. Your goal is for the texture of the jerky to bend and crack, not snap in half completely. You should see a white stringy texture when you break a piece.
  13. Your jerky should last up to 2-months if vacuum sealed with a desiccant packet. It should last up to 10 days if kept in resealable bags in the cupboard.

This will remove the first product added for comparison. Is that OK?